How to Fix Hard Disk not Showing While Installing Windows 11 & 10

On this topic, you will learn how to fix hard disk partitions not detecting while installing windows 11 or windows 10 with the following error message:
“We couldn’t find any drivers. To get a storage, click load driver”
Why does Windows 11 not recognize my hard drive while reinstalling?
This error is commonly seen in computers integrated with 11th generation, 11th generation or newer processors, as these processors support Intel Rapid Storage Technology (IRST or RST) with VMD Controller or Intel® Volume Management Device. Enabling VMD if available, will enhance the performance and speed of NVMe SSD up to 200 % or more. However, you have to load the VMD or RST driver during windows 10 or windows 11 installation in order to show the disk partitions. Also, if VMD option enabled in a computer that hasn’t has the VMD device, the disk will not show during installation even after loading the VMD driver, or you may boot into a blue screen with Inaccessible boot device or No bootable Boot Device error message. Although the disk will not show up if you are trying to install windows 10 or windows 8 as well.
This topic and associated video will show you how to fix “We couldn’t find any drivers” issue in both situations step by step
First Part: How to load the VMD driver during windows installation?
- firstly, you have to download the VMD Controller driver from the official page of laptop manufacturer as followings:
- Search for your computer model in the official website support page, using either service tag or model number.
- Links to support page of the official websites for Deferent Laptops’ Brands:
- Locate the zip file of RST or VMD driver and install it.
- If there is no zip file, download the exe file instead
- Open the exe file to extract it.
- Select Extract only option and click Next
- Memorize the path of extraction and then click Next
- Navigate to the extracted folder and send it to the bootable USB of windows.
- If there is no VMD or IRST driver on the official vendor website, download the zip driver from Intel Website, (See Important Notes below).
- After downloading the driver, extract it to the bootable USB.
- Now, back to installation wizard of windows
- Click on Load Driver option and then select Browse option.
- Select the USB pen drive and then open the folder of the VMD driver
- Click Ok to continue
- Select iaStorVD.sys file or iaStorVD.inf file and then click Next to load the selected driver.
As you can see on the video, the disk partitions are shown after loading the VMD driver.
Important Notes:
- Intel® recommends that you use the driver from your laptop manufacturer’s official website (if available), as some companies may modify the driver to fit the laptop’s hardware or firmware. But if the driver is not available on the manufacturer’s website, you can download it from the official Intel website.
- Intel® also recommends that installing this driver should be done by experts or by counselling the system vendors, to avoid any possible error or damage when installing the driver in a wrong device or when using uncustomed driver if any.
- Additional tips & Tricks:
- If the disk partitions not shown, try again by selecting another iaStorVD file, or try to use the driver downloaded from Intel website if the first one was downloaded from manufacturer website and vis versa.
- If the partitions still hidden after previous trials, it’s probably that the VMD option was enabled in BIOS while your computer doesn’t contain the VMD Controller device. This may happen due to model variants that may exclude the VMD Device in some models even if the BIOS Firmware contains the VMD option. Also, it may happen after disk replacement or downgrading the computer’s hardware. In both cases, you have to disable VMD option from BIOS or UEFI settings as instructed on the next part of the topic.
Second Part: How to disable VMD controller from BIOS settings:
To disable VMD, you have to open BIOS settings as followings:
- Power on your computer
- Once you see the manufacturer Logo, press F2 key repeatedly to open BIOS settings
- This is the list of common hot keys to open BIOS settings in different brands:
- Lenovo:
- Desktop= F1, F2
- Laptop & Notebook= F1, F2 or Nano Button
- Hp:
- Desktop, Laptop, Notebook & Generic= F10, Esc
- Tower= F1
- Dell:
- Desktop & Laptop= F2
- Asus:
- Desktop= F9
- Laptops & Notebook= F2 or Delete
- Acer:
- Desktops & Laptops= F2 (or Del in laptops
- Samsung:
- Notebook & Ultrabook= F2
- Ultrabook Ative Book= F10
- Sony:
- Laptop= Assist Button, F1, F2, F3
- Toshiba:
- Laptop= F2
- Protege, Satellite, Tecra= F1, Esc
- Equium= F12
- Compaq= F10
- Fujitsu= F2
Read this topic for more details about booting from the USB pen drive.
4. Navigate to Advanced tab
In American Megatrends BIOS, Open Advanced mode from options in the lower right corner
5. Navigate to Advanced panel
6. Open RST or VMD Setup Menu and then disable VMD Controller option
7. Change Boot order if you want to boot From the USB without opening boot menu
8. After that click on Save and Exit option to boot from the USB
As you can see on the video, the disk partitions are shown after disabling the VMD Mode.
Third part: Other troubleshooting options & differential diagnosis:
Changing Boot settings to in BIOS menu may result in similar issue, especially in older computers that have an option to supports MBR disks with legacy mode. for example, if the windows was installed on your computer in UEFI BIOS mode, the disk system should be in a GPT scheme, as the MBR will not be shown in BIOS or while booting from a MBR disk, unless you have enabled the CSM or Compatible Mode in BIOS settings. This is applicable to Legacy BIOS mode when trying to boot from GPT disk, in which the GPT disk will not shown in BIOS or while Booting.
But, no drives can be found during windows 10 installation (intel 11th generation processors) is less probability to happen due to CSM mode, as this option is not available in new computers. In addition, windows 11 doesn’t support MBR disks. However, you may need to disable CSM or Legacy mode if available in your BIOS settings, and/or try to do reset for BIOS settings to default.
If windows 11 or Windows 10 not detecting hard drive but bios does, that means the hard disk is healthy, but the driver and or BIOS settings are the reason for hard disk not showing up during windows 11 installation. However, if the disk drive not showing in BIOS settings even after doing a reset for BIOS settings to default, that may indicate a hard disk corruption or the hard disk is not connected properly to its socket on the motherboard.
VIDEO:
For more details about fixing disk partitions not showing during widows installation, watch this video:
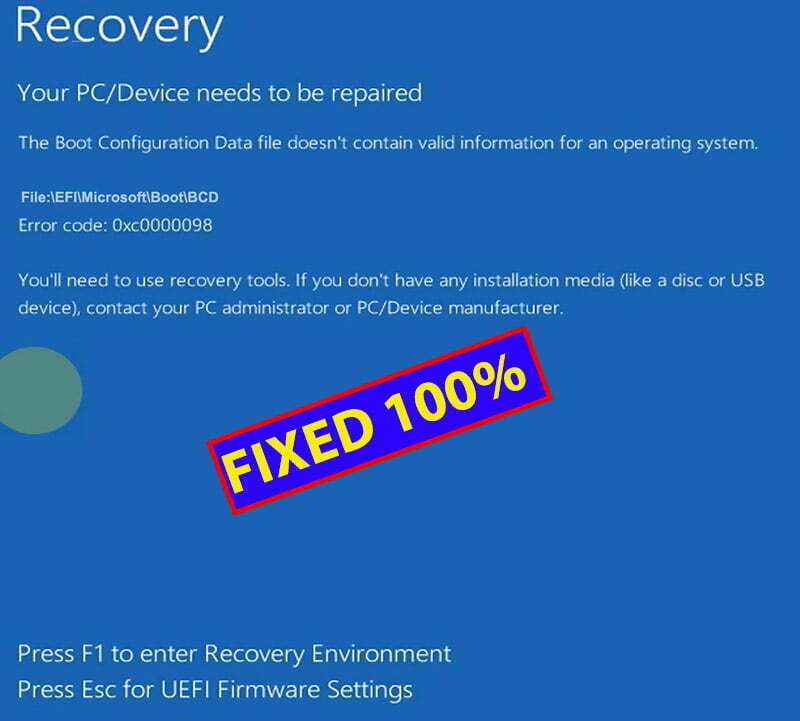
How to Fix Your PC/Device Need to be Repaired BCD Corrupted in Windows 11/10
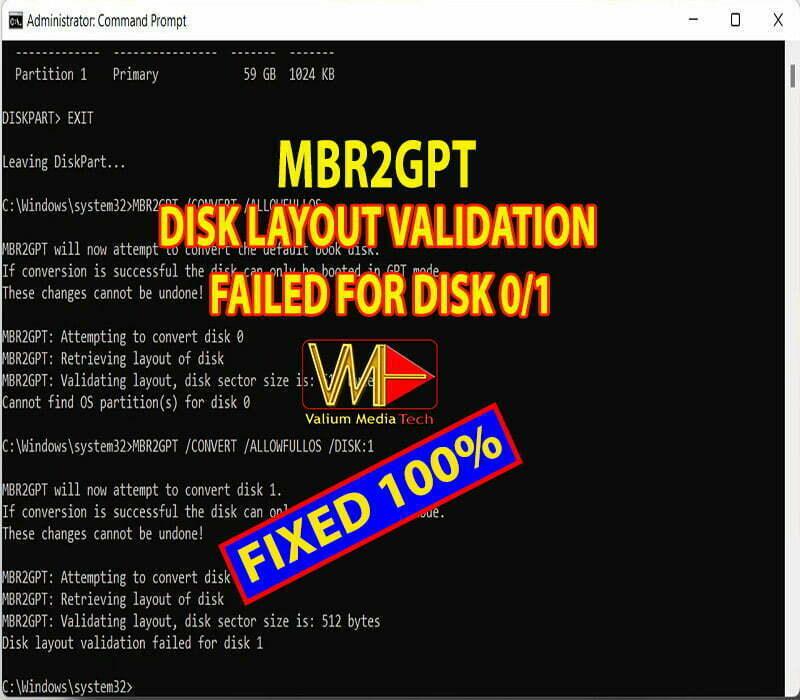
How to Fix MBR2GPT Disk Layout Validation Failed for Disk 1
You really make it seem so easy with your presentation but I find this matter to be actually something which I think I would never understand.
It seems too complicated and extremely broad for me.
I am looking forward for your next post, I’ll try to get the
hang of it!