How to Boot Windows 11 from USB

On this topic, I will show you how to boot any computer from USB pen drive in order to repair windows startup issues or to install windows 11, windows 10, windows 8 or any operating system such as Linux, Ubuntu or Mac OS.
Also this method can be used to boot from another Windows Installation Media like CD or DVD drives.
First, you have to create a bootable USB of either Windows Recovery Environment image to repair startup problems only, or a bootable USB pendrive of whole windows image for windows repair and installation.
There are some differences between GPT (with UEFI boot mode) and MBR (with Legacy boot mode) in how to boot from the USB drive, because in computers with GPT disk scheme, you can’t boot if the Boot mode is Legacy, and in the MBR computers, you can’t boot if the Boot mode is UEFI. Also in UEFI mode, you will need to do some changes in BIOS settings in order to boot from the USB.
FIRST: HOW TO BOOT FROM THE USB DRIVE IN MBR OR LEGACY-BASED COMPUTERS:
2.1.a. Power off the computer completely.
2.1.b. Connect the USB pendrive to your computer.
2.1.c. Power on the computer and repeatedly press F12 or the corresponding key from the following list to open boot menu.
This is the list of hot keys that can be used to open Boot menu:
- Acer: F12, F9 or Esc.
- Asus: Esc. or F8
- Compaq: F9 or Esc.
- Dell: F12
- Fujitsu: F12
- Hp: Esc. or F9
- Lenovo: F12, F8, F10, Novo Button or Fn+F11
- MSI: F11
- Razer Blade: F12
- Samsung: F12 or F2
- Sony: Assist Button, Esc or F11
- Toshiba: F12
2.1.d. Select the USB drive from Boot list and hit enter.
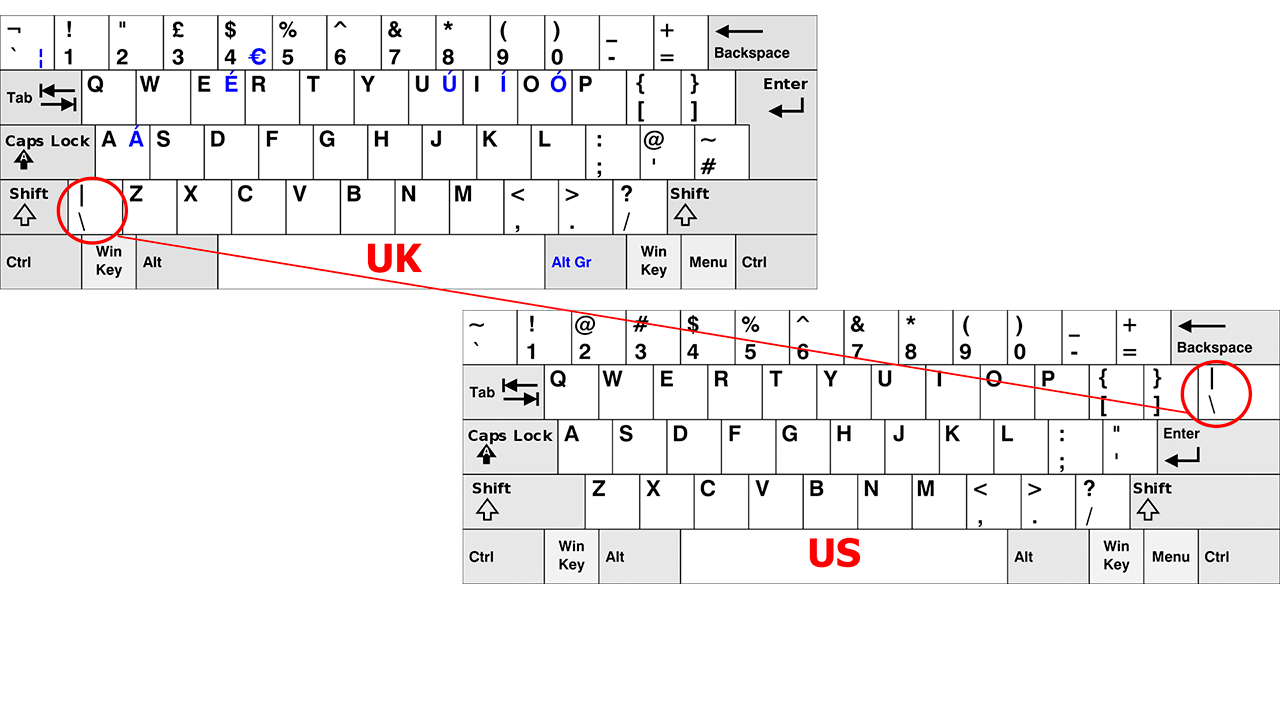
2.1.e. Select the English as the input keyboard language and then click Next.
There are some differences in symbols distribution between US keyboard and UK keyboard as shown on the following image:
From this screen, you can either click on “Repair your Computer” option to open advanced recovery menu, or click on “Install Now” icon to proceed to windows installation wizard.
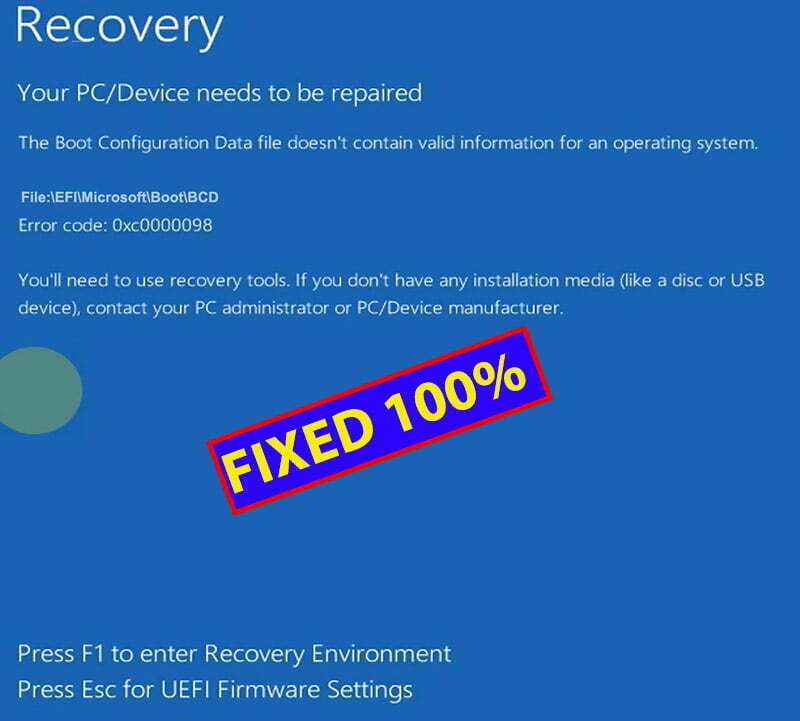
If the computer failed to boot from the USB or you received an error message saying that “An operating system wasn’t found”, boot into boot menu and select the USB option that is flagged with EFI or UEFI, but you have to enable UEFI boot mode and to disable secure boot from BIOS settings as on the second part of this topic.
SECOND: HOW TO BOOT FROM USB IN GPT OR UEFI-BASED COMPUTERS:
If your computer has a UEFI firmware or you failed to boot it from USB in first method, do the followings:
power on the computer and press F2 key repeatedly to open BIOS settings:
This is the list of common keys used to open BIOS settings for different brands for desktops, laptops and notebooks:
- Acer: F2 or Del
- Asus: F9, F2 or Delete
- Compaq: F10
- Dell: F2
- Fujitsu: F2
- Hp: F10, Esc or F1
- Lenovo: F1, F2 or Novo Button
- MSI: F10
- Razer Blade: F1
- Samsung: F2 or F10
- Sony: Assist Button, F1, F2 or F3
- Toshiba: F1, F2, Esc or F12
Once you are on the BIOS menu, take a video for the entire BIOS settings using your mobile before doing any changes, so you can revert new changes back to previous settings once you finish troubleshooting.
Use arrow keys from keyboards to navigate between panels and items or read the instructions from the bottom of BIOS settings.
Locate “Secure boot’ or fast boot and disable it.
Go to “Boot” tab and change “USB Boot option” to Enabled or on.
– In some Asus or similar laptops with UEFI BIOS menu like this, you have to enable “Compatibility Support” or “CSM” mode, in order to disable “Secure Boot”.
In some computers, you have to change “Boot Mode” to Legacy support, then enable “USB legacy” or any related settings if available.
If you are unable to enter Boot menu as on the first method, you have to change the boot order, so the USB takes the first position in the list.
Use F5 and F6 or follow the instructions from your screen to change the USB boot position to the top.
In Asus UEFI/BIOS utility and similar menus, you can drag and drop the USB drive in to the top of the boot list using you mouse.
Navigate to Exit panel and select, “Exit & Save Changes” option.
Also you can save changes by pressing F10 or similar key according to what you can see in your BIOS menu.
EXTRA STEPS:
If the USB drive not shown on the boot list, make sure that:
- The USB is not disabled in boot menu or any menu.
- The USB scheme is applicable to your disk scheme (i.e. MBR or GPT)
- The USB drive is not corrupted or unbootable
- In some cases, you have to save changes and reboot into BIOS settings in order to see the USB drive on the Boot menu.
- Also you can try to plug the USB pen drive to another “USB 2” port in your computer.
- Some mentioned settings may or may not available in your computer, or may be available in other names rather than the mentioned names.
- If you have a UEFI/Legacy Boot option, set it to Both or Legacy Only based on your disk scheme.
- Search for any of the following settings and make sure it is Enabled or set to On:
- CSM
- Legacy Support
- Legacy CSM
- Launch CSM
VIDEO:
For more details about How to Boot Windows 11 from USB, watch this video: