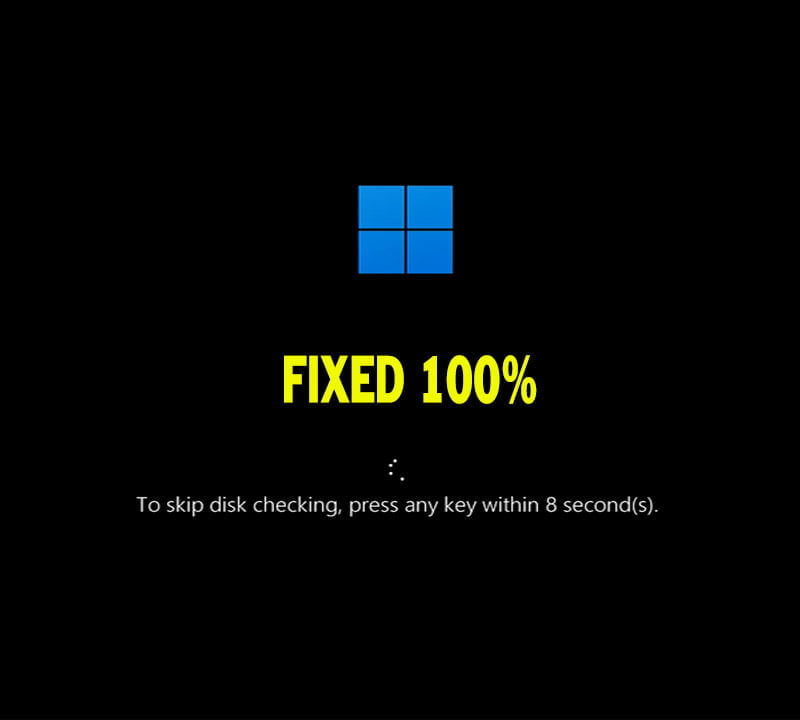
How to Fix to Skip Disk Checking Press Any Key Within 8 Seconds Windows 11&10
Welcome everybody;
You may get annoyed with disk checking message every startup in windows computer. Don’t worry about that, as it is not indicting a big problem. Instead it is a repairing request that ask for your permission to perform a disk checking and repairing any errors or bad sectors by CHKDSK tool. However, if there is no any error or bad sector in your disk, then you have to stop this message, because the checking and repairing process may take up to an hour or so.
On this topic, I will show you how to disable disk check at windows startup with this message:
To skip disk checking press any key within 8 seconds in windows 11, windows 10 windows 8 or windows 7 computers.
Why does my PC say Press any key to skip disk checking?
You may ask yourself Why is my computer checking the disk at every startup? or Why is my computer checking the disk at every startup?
Simply, the answer is that your computer was scheduled to scan the disk for the disk errors or corrupted sectors, but you didn’t allow this process to complete to the end at least for one time. So, if you can allow it to continue until the end of scanning and repairing, then the checking request message will disappear automatically thereafter.
Note: I will show How do I skip scanning and repairing drives in Windows 10 or windows 11, however, you are advised to allow this process until the end, especially if you think that your PC has disk errors or bad sectors. Once the disk checking completed successfully, the checking request message will not show again, and your computer will boot into login screen directly.
How to Stop Disk Checking in Windows 10 or Windows 11 While Booting?
You can disable disk checking every startup using Command Prompt or from registry editor.
How disable disable disk check on startup using command prompt (CMD)?
- To disable disk checking using command prompt, do the followings:
- Type CMD into search box and then run the command prompt as administrator
- Type the following command and press Enter
- CHKDSK /R /F
- Type N and press enter to disable disk check permanently.
- Let’s restart the computer to see if the checking message disappeared or not.
- As you can see, the message to skip disk checking disappeared in my computer.
How to stop disk check on startup using registry editor?
- To disable disk checking every startup in windows 10 or windows 11 from registry editor, do the followings:
- Press Windows logo + R keys from keyboard to open Run tool
- Type REGEDIT and press Enter to open the registry editor
- Navigate to this path:
- “Computer\HKEY_LOCAL_MACHINE\SYSTEM\CurrentControlSet\Control\Session Manager”
- Right click on BootExecute key and select Modify option
- You may see something like these or other strings:
- autocheck autochk /r \??\C:
- autocheck autochk *
- Delete any extra string and keep only autocheck autochk * strings
- After that, click Ok to save changes.
- Now restart your computer to see if the disk checking request skipped or not.
- As you can see, my windows restarted successfully without disk checking message.
- Related topics:
- See how to check hard disk health status from this link.
- See how to get files off a computer that won’t boot from this topic.
VIDEO:
For more details about how to skip disk checking every startup, watch this video: