How to Convert MBR Disk to GPT Without Data Loss

Hello everyone;
On this topic, you will learn how to convert MBR disk scheme to GPT without losing data or reinstalling OS in windows 10 any computers.
This method will allow you to switch firmware from Basic Input/Output System (BIOS) to Unified Extensible Firmware Interface (UEFI). BIOS or Legacy Mode supports only Master Boot Record (MBR), but UEFI mode Supports GUID Partition Table (GPT), in addition, some UEFI computers have option called CSM or Compatible Mode to support Legacy.
UEFI mode has many advantages over Legacy mode, such as secure boot, faster startup, bypassing MBR disk limit of a 2 Terabytes as maximum disk size with four primary partitions as maximum numbers, in addition, UEFI will allow you updating to, or installing windows 11 in your computer.
IMPORTANT NOTES BEFORE STARTING:
- Before trying to convert the disk to GPT, make sure that your computer supports UEFI because the conversion process can’t be reversed back without losing data.
- Once the disk gets converted to GPT disk scheme, BIOS firmware must be reconfigured to boot in UEFI mode.
- Windows Recovery Environment should be enabled, so you can recover your system if you advanced into a trouble.
- I will show you how to do the first 2 checks, but if the recovery was disabled in your PC, there is another video in description will show you how to enable it.
First Part: How to Check if your Computer Supports UEFI?
- Power off the computer completely.
- Power it on again
- Once you see the manufacturer logo, repeatedly press the F2 or applicable key to your computer from the next BIOS hot keys to open BIOS settings:
- Lenovo:
- Desktop= F1, F2
- Laptop & Notebook= F1, F2 or Nano Button
- Hp:
- Desktop & Generic= F10, Esc
- Laptop & Notebook= F10 or Esc
- Tower= F1
- Dell:
- Desktop & Laptop= F2
- Asus:
- Desktop= F9
- Laptop & Notebook= F2 or Delete
- Acer:
- Desktop= F2
- Laptop= F2 or Del
- Samsung:
- Notebook & Ultrabook= F2
- Ultrabook Ative Book= F10
- Sony:
- Laptop= Assist Button, F1, F2, F3
- Toshiba:
- Laptop= F2
- Protege, Satellite, Tecra= F1, Esc
- Equium= F12
- Compaq= F10
- Fujitsu= F2
- MSI= Delete
- Razer Blade= F1 or Del
- Lenovo:
- Use arrow keys from keyboards to navigate to Boot panel or read the instructions from the bottom of BIOS settings.
- If there is an option to change Boot mode to UEFI or EFI, then your firmware supports the GPT disk scheme. The boot mode settings may take another name or another path, however, the UEFI or EFI option should be the same if its supported.
- If you changed the boot mode to UEFI before conversion, all available MBR disks will disappear from boot list, and the computer will fail to boot with black screen error. So don’t change BIOS settings to UEFI until you convert the disk to GPT.
Now, navigate to Exit panel and select Exit Discarding Change or similar option to close BIOS menu and boot into windows.
SECOND Part: How to Check if your Disk Has a GPT or MBR Style?
Using Disk properties:
- Right-click on the C partition and select Properties
- Click on hardware panel and select the disk that you have windows installed on
- Click on Properties
- Navigate to Volume panel then click on Populate icon
- Select Volume panel again then click on Populate icon
- This menu will show you whether the partition style is MBR or GPT in your computer.

Showing Disk Scheme Using CMD:
- Open CMD as Administrator and execute this command:
- DISKPART
- Execute LIST DISK command to show the connected Hard Disks or SSD drive.
If you see an asterisk “*” under GPT column, then the disk scheme is GPT.
If there is no asterisk, then the disk scheme is MBR.

Third Part: How to Convert the Disk into GPT?
- Type CMD into search box
- Right click on Command prompt and select, Run as administrator
- Execute this command to convert the disk into GPT:
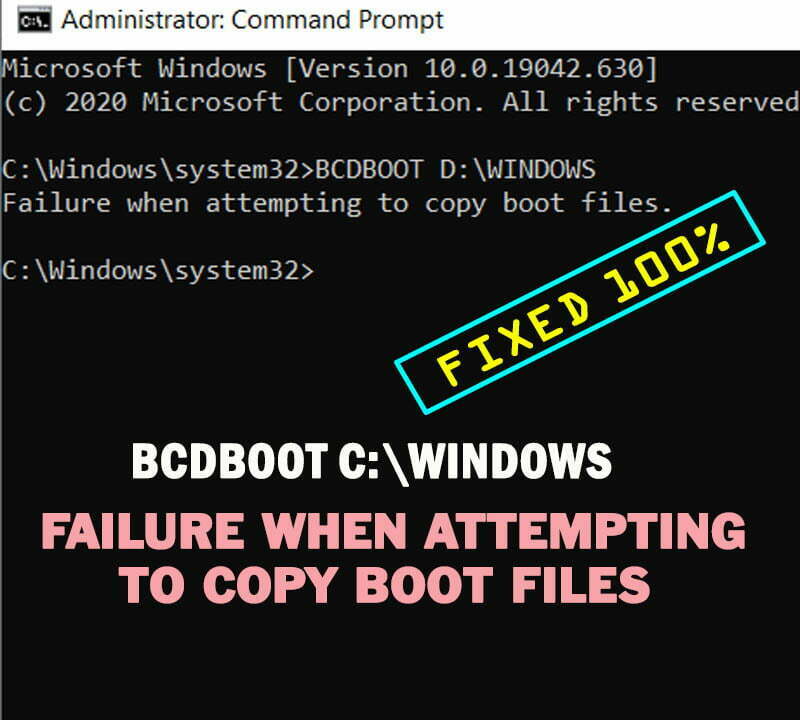
MBR2GPT /CONVERT /ALLOWFULLOS- If you are trying this command from Windows Recovery Environment (WinRE), you have to change the CMD path to System32 folder using this command:
CD /D D:\WINDOWS\SYSTEM32 - Then execute the command without /ALLOWFULLOS option
- If you are trying this command from Windows Recovery Environment (WinRE), you have to change the CMD path to System32 folder using this command:
Troubleshooting Failure of MBR2GPT tool:
- If the conversion failed with this error message, “Disk layout validation failed for disk 0” then you have to check the followings:
- The disk is currently having an MBR scheme
- The BitLocker is disabled on the disk.
- There are no more than 3 primary partitions on the disk with at least 1-megabyte free space in all partitions
- There is no any extended or logical partition on the disk
- The system partition is set as active and contains valid BCD file
- The volume IDs can be retrieved for each volume which has a drive letter assigned
- All partitions on the disk are of MBR types recognized by Windows or has a mapping specified using the /map command-line option
- In my case as you can see on the video, the disk has an MBR scheme with enough free disk space, the BitLocker is disabled, the system partition is active and contains valid BCD file, since I’m working in running windows, as the computer can’t start if the system partition is inactive or if the BCD is corrupted.
- You can check the number of partitions and whether you have a logical or extended partition using this command
- DISKPART tool
- Execute LIST VOL to show available volumes
- Select windows volume using this command:
- SEL VOL 2
- Replace the 2 with the volume number of windows partitions in your computer based on its size or from the letter of windows that appears on the CMD path.
- SEL VOL 2
- Type LIST PART then press Enter to show available partitions
- As you can see on the video below, there is no logical partition but there are more than 3 partitions in my disk, so the conversions failed as seen previously. So I will delete one partition after copying it’s contents to windows or another partition. But the deleted partition should not be the windows partition, system partition or recovery partition.
- Select the partition to be deleted using this command:
- SEL PART 4
- Make sure to select the correct partition, because the next command will delete everything on the selected partition permanently.
- Delete the selected partition using this command:
- DELETE PARTITION
- As you can see, the partition disappeared from windows explorer, but it’s not mean I loosed the partition, because I will recreate it later.
- If you are trying conversion from WinRE, you can extend the C partition to include the size of deleted partition if you want, otherwise, convert the disk and then recreate the deleted partition as you will see later.
- Type EXIT and press Enter to close the DISKPART
- Press up arrow key from keyboard to explore previous commands, then execute MBR2GPT again to start conversion.
- As you can see, the conversion process completed successfully after removing the fourth partition, but failed to update the reagent.xml file with suggestion to manually disable and enable WinRE.
- The following command is used to disable WinRE:
- REAGENTC /DISABLE
- And this command is used to enable it:
- REAGENTC /ENABLE
- However, enabling or disabling process will fail until restarting the computer.
- Now power off the computer to change BIOS settings as instructed in the next part.
Fourth Part: How to Change Settings of BIOS Firmware to Boot in UEFI Mode?
- Power on the PC then Boot into BIOS menu as seen in first part of the topic.
- Navigate to Boot option and change Boot mode to UEFI.
- Unlike the disk ordering in the boot list of MBR or legacy scheme, the GPT scheme has a new boot option called Windows Boot Manager. This option should take the first priority in the boot list in order to boot windows normally.
- You may need to change the SATA Controller mode to AHCI.
- Also as we said previously, BIOS settings and boot options are different from computer to computer based on firmware or hardware manufacturer. So you have to search for boot and related options in all panels, or search google to see how to change boot mode in your specific PC model.
- Navigate to Exit panel and click on Exit Saving Changes option to boot into windows.
- The first boot will take longer time, so be patient.
- After a successful booting, the boot or system partition may became visible and can be deleted without issues.
- Also the deleted partition will became visible until you show it manually.
- To show it, right click on Start icon then select, Disk management.
- Right click on Unallocated space and select, New Simple Volume option.
- Change the Size of new Volume if you want, otherwise, click next to take all available size.
- Change the assigned letter if you want, otherwise click on Next to continue.
- Move the files and folders back to the new volume.
VIDEO:
For details and clear methods, watch this video: