How to Install Windows 11 on VMware Workstation 16 Pro in Unsupported Hardware

On this topic, you will learn how to install windows 11 in VMware workstation 16 pro or older editions as a virtual machine in unsupported hardware.
Official Windows 11 is still unsupported on VMware workstation 16 and older versions, and you will get an error message saying that “This PC can’t run Windows 11” “This PC doesn’t meet the minimum system requirements to install this version of windows”.
So, this video will help you to configure virtual TPM and other hardware requirements in order to install Windows 11 without TPM 2 in VMware workstation Pro, VMware Player, VMware Fusion in any version including V16. V 15, V14, V13, V12, V11, V10, V9, V8, V7, … etc.
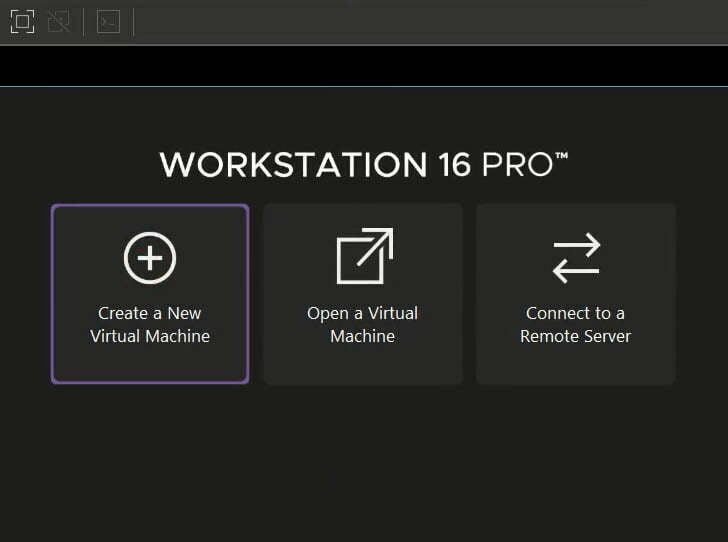
Open VM ware Workstation app and select Create a New Virtual Machine option.

Select Custom (Advanced) option and click Next

Keep the next 3 options as it without change by clicking Next
On Virtual Machine Name menu, type any name for the new virtual machine and click Next
On firmware type menu, enable Secure boot option and then click Next
On Processor Configuration menu, Change the number of processors to two or more, but it should be a half or less of the actual number of processors and cores in your computer.
On Memory for Virtual Machine menu, change RAM size to 4 gigabytes or more, but it should be less than the half of the actual RAM size to avoid computer freezing when running the virtual machine.
Note: The minimum RAM size required for windows 11 is 4 gigabytes.
On Network Type menu, Select Use Network address translation (NAT) and click Next to continue.

On I/O Controller Types menu, select LSI Logic SAS (Recommended) option and click Next
On “Select a Disk Type” menu, select NVMe (Recommended) option and click Next
On “Select a Disk” menu, select Create a new virtual disk option and click Next
On Specify Disk Capacity menu, change the disk capacity for the new virtual machine if you want, otherwise click Next to continue.
Note: The minimum disk size required for windows 11 is 60 gigabytes.
On Specify Disk File menu, click Browse button to change the location of disk file if you want, otherwise click Next to continue.
On last menu, you can click Customize Hardware button if you want to change settings or to add extra hardware component, otherwise, Click Finish to continue.
Now, navigate to the folder of Configuration file according to shown path in VMware window.

Right click on the .vmx file and edit it using Notepad++ app or any text editor tool.

Note: To show files extension, click on View panel on file explorer window and then hover over Show option. Select File Name Extension to show files extension.
Add new empty line after any line on the VMX file and then paste the following line:
managedVM.autoAddVTPM = “software”

Back to the VMware app and restart it (i.e. Close the app and then open it).
Click on Play this Virtual Machine and then click inside the VMware screen to direct mouse and keyboard input to the virtual machine.
Press any key from keyboard immediately once you see the message saying that “Press any key to boot from CD or DVD” to boot windows 11 from the ISO file.
On the Windows Setup menu, change the desired language if you want, otherwise click Next to continue
Click Install to start installation processes
On Activate Windows menu, type windows License or Activation key if you have, otherwise, click I don’t have a product key to continue.
If didn’t enter the activation key in previous step, you have to select the desired edition from the list (i.e. Windows Pro, Home, Enterprise, Education,… etc.) and then click Next to continue.
Note: If your computer doesn’t support Windows 11 and didn’t edit .vmx file as instructed previously, you will see the error message that saying that “This PC can’t run Windows 11” “This PC doesn’t meet the minimum system requirements to install this version of windows”.

Accept the Microsoft Software License and then click Next to continue.
Select Custom Install option to continue
Click Next to start windows 11 installation
Follow on screen instructions to customize windows installation.
For more details about windows 11 installation and customization, read this topic.
Once you reach to the desktop of installed Windows 11 Virtual Machine, click Install Tools option from notification message on the lower right screen of VMware app to install VMware tools and graphic drivers to the new virtual machine. After installing VMware tool, the size of screen will turn into full mode, however, you will need to restart Windows system to configure all installed tools and drivers.
At the end of this topic, if you still need any help about installing Windows 11 on VMware Workstation, leave a comment with your question and we will help you.
Video:
For more details in how to install windows 11 in VMWare Workstation 16 or older, watch this video:


